Introduction
Painting your engine can be a daunting task, especially if you’re not a mechanic. But with the right tools, materials, and know-how, you can get the job done without ever removing the engine from your car. In this comprehensive guide, we’ll walk you through the entire process, step by step, so you can give your engine a fresh coat of paint without the hassle of removing it.

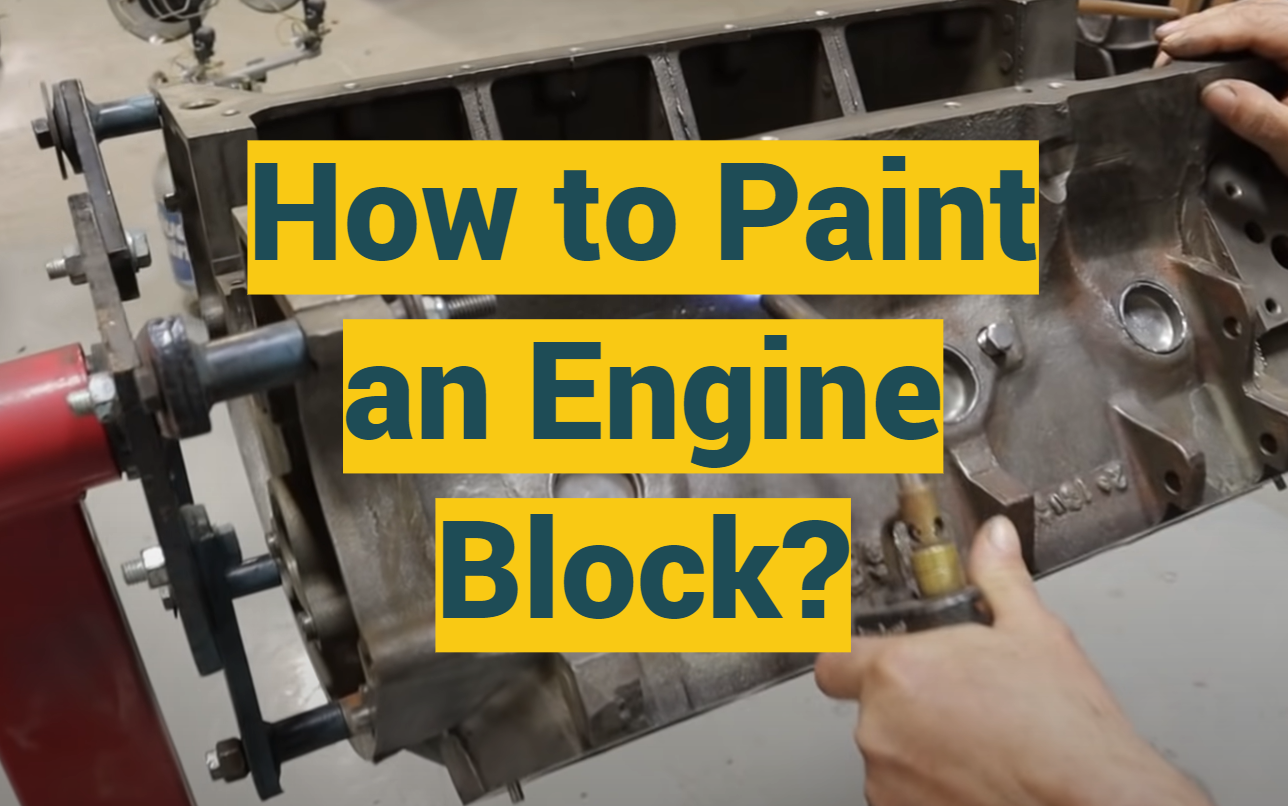
Image: profypainter.com
Understanding the Importance of Engine Painting
Whether you’re restoring an old engine or simply want to give your current one a new look, painting it can provide numerous benefits. A fresh coat of paint can protect your engine from rust and corrosion, improve its appearance, and even give you a slight boost in performance. By painting your engine, you can enhance both its function and its style.
Materials and Tools You’ll Need
Before you start, gather the following materials and tools:
- Engine degreaser
- Lint-free cloths
- Sandpaper (180 and 220 grit)
- Primer
- Engine paint
- Clear coat
- Brushes and/or spray gun
- Masking tape
- Safety glasses
- Gloves
Step 1: Preparation
Thoroughly clean the engine with an engine degreaser to remove all traces of dirt, oil, and grease. Wipe it down with lint-free cloths to ensure it’s completely clean. Sand the engine lightly with 180 grit sandpaper to create a slightly rough surface for the primer to adhere to. Wipe off any sanding dust with a clean cloth.
Image: www.pro-touring.com
Step 2: Masking
Cover any areas of the engine you don’t want to paint, such as the belts, hoses, or electrical components, with masking tape. Use multiple layers of tape and press it down firmly to prevent paint from seeping under.
Step 3: Priming
Apply a thin coat of primer to the engine. Primer helps to protect the metal from corrosion and provides a base for the paint. Allow the primer to dry completely before moving on to the next step.
Step 4: Painting
Use a spray gun or brushes to apply a thin, even coat of engine paint to the engine. Allow the paint to dry for the recommended amount of time before applying additional coats. Multiple coats may be needed for optimal coverage.
Step 5: Clear Coating
Once the paint is completely dry, apply a clear coat to protect the finish and give it a glossy shine. Clear coat also helps to prevent the paint from chipping or fading over time.
Step 6: Removal of Masking
Carefully remove the masking tape while the clear coat is still slightly tacky. This will prevent the tape from sticking to the paint. Allow the clear coat to dry completely.
Step 7: Final Touches
Once the clear coat is dry, your engine is ready to go. If desired, you can add additional detailing or touch-ups to give it a finishing touch.
Tips for Troubleshooting
- If the paint is peeling or chipping, it’s likely due to poor preparation. Ensure the surface was properly cleaned, sanded, and primed before painting.
- If the paint is not drying, it may be due to excessive humidity or cold temperatures. Allow the paint to dry in a well-ventilated area and ensure the temperature is within the recommended range.
- If the clear coat is milky or hazy, it’s likely due to applying it too thickly. Apply a thin, even coat and allow it to dry before applying additional layers.
How To Paint An Engine Without Removing It
Conclusion
By following these steps, you can paint your engine without removing it and give it a fresh, updated look. With a little preparation, the right materials, and attention to detail, you can achieve a professional-looking finish that will protect and enhance your engine for years to come. Whether you’re a seasoned mechanic or a DIY enthusiast, painting your engine can be a rewarding and cost-effective way to improve its performance and style.